Tips and tricks
This page lists features, hacks, and nuances that may be handy, non-obvious, or both.
Faster playback
Hitting Space or Enter twice will start playback at 1.5x speed, which can be useful for quickly previewing a sequence, e.g. when prototyping a chord progression.
Alternatively, double-click or middle-click in the roll header while holding any modifier key, or long-tap the play button in the corner.
Warnings
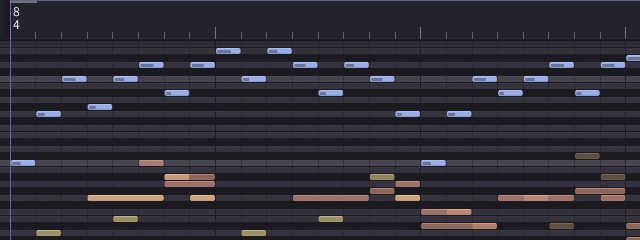
During playback, the sequencer may sometimes draw red or yellow vertical warning lines:

These are the clipping and over-saturation warning markers:
-
red lines indicate problematic regions with clipping sound,
-
yellow warning lines will appear in the areas where the perceived loudness (a.k.a. the root mean square loudness) is way lower than the peak loudness, which is considered
harmfulunhealthy: in my setup it typically means that I have some redundant duplicate notes in the same place.
Spacebar panning
One quick way to switch between the current editing mode and the canvas panning mode is holding the Space key:

Dragging the canvas with the right mouse button does the same thing.
Holding spacebar also works as a hotkey modifier: use Spacebar + Cursor Keys or Spacebar + HJKL to pan the viewport.
Time measure tool
Hold the Space key, then click-and-drag over the timeline to measure time between two points on the timeline:

Sound probe tool
Holding Space and clicking on the timeline is what I call a “sound probe”, and it’s supposed to give you an idea of what notes are playing at any given time:

Range selection
Click-and-drag on the timeline while holding Control or Command to select all notes or clips in a time range:

Freeform selection
Control-dragging in the piano roll or pattern roll allows you to draw a lasso with a freeform shape instead of a usual box. On mobile platforms, long-tap in the selection mode to draw a freeform lasso (in the default mode, long-tap will temporarily switch to box selection).
Resizing a group
Resize a group of notes proportionally by holding Shift:

Drag-and-copy
Hold Shift to drag-and-copy notes in the piano roll, clips in the pattern roll, key/time signatures, annotations or automation events:

Pen tool
Also hold Shift or any modifier key to change the behavior of the pen tool when adding notes. By default, the newly added note is edited in transpose-and-resize mode. Alternatively, there is the drag mode, which is more familiar:

Fine-tuning dynamics
Use the pen tool to hand-draw custom ramps in the volume editor panel. Control how the ramp curve blends with the original velocities by using the mouse wheel:

In the default edit mode, fine-tune volume of the selected notes: dragging them vertically with no modifier keys will shift the velocities linearly, dragging while holding Alt will scale them.
Holding Shift while dragging will shape-shift group’s velocities into a sine (when dragging up) or flatten them, reducing dynamic range (when dragging down):

(the indicator displays the group’s lowest and highest MIDI volume)
You can also adjust notes volume linearly just by middle-button dragging the note components in the piano roll directly.
Note name guides
The G hotkey toggles the note name guides:

Note names depend on the root key of a key signature found at the start of the viewport or selection (see the comment for the temperament model).
Depending on your settings, note names can be displayed in either German or Fixed Do notation (C-D-E or Do-Re-Mi, where Do is always C, Re is always D, and so on).
Mini-maps
The mini-map mode can be toggled with B hotkey, or by clicking at any area except the screen range rectangle.
When in compact mode, the mini-map is stretched to fit all project:

When in full mode, the mini-map allows you to draw a region to zoom in on:

Following playhead
During playback, press the Play or Enter hotkey the second time to focus the viewport on the playhead.
If you enabled following the playhead automatically (“Catch playhead” on the settings page, off by default), use the Cursor Left and Cursor Right hotkeys during playback to adjust how the playhead aligns in the viewport.
Chord tool
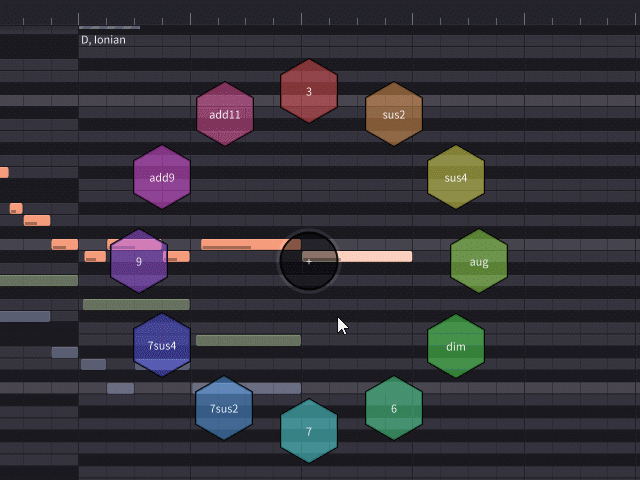
By double-clicking on a row in the piano roll you invoke the chord tool:

It picks the current key signature from the timeline to determine which scale and root key to use to generate chords. Hence the main limitation of this tool: it can only generate chords that are easy to define with in-scale keys, and it will not generate chords when placed on an out-of-scale key (darker rows).
It can be dragged around by the center node, or controlled via hotkeys:
1,2,3,4,5, etc orPage Up/Page Downto switch to another chord,- cursor keys or
HJKLto move it around, EnterandEscapeto apply or cancel.
Tip: on desktop platforms, you can extend it by adding your own chords.
Knife tool
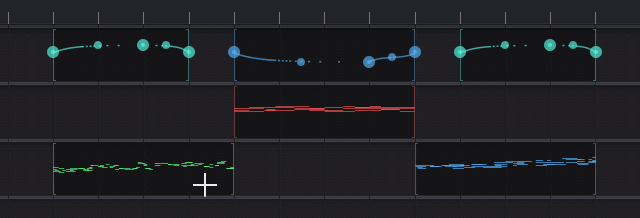
In my workflow, I’m often adding new tracks with a knife tool: even though there’s a normal way to add an empty track via project menu, or duplicate a track, I often end up having added some sketches in different places of a single sequence, and then seeing that they represent different parts, and can be cut into different tracks after switching to the pattern mode:

Tip: cutting clips while holding any modifier key will immediately rename one of the new tracks to place it on another row.
Merging tracks
The knife tool has an alternative mode: right-click and drag (or long-tap and drag on mobile platforms) to merge one clip with another:

Clips and track grouping
In the example above, two split tracks remain on the same row because the tracks are grouped by name, and the knife tool keeps the track name the same. Pattern roll can also group tracks by color, instrument, or track id.
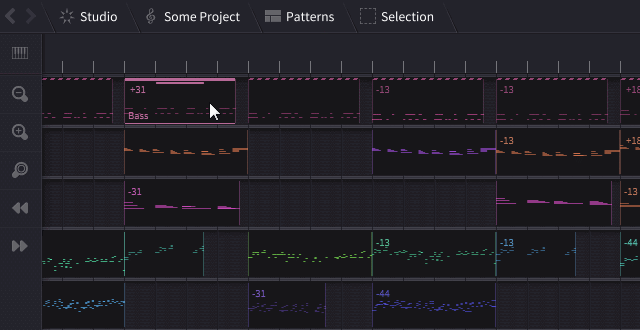
The segments on one row could be either different tracks or multiple instances (or “clips”) of the same track. Instances always share the same notes, and have the same name and color, but they can be slightly modified: have different position, key shift or volume multiplier, which is mainly meant for prototyping:

When you select an item in the pattern roll, all of its instances are highlighted with a dashed header: this helps distinguish between “instances” and other tracks with the same name or color on the same row. The F6 hotkey is a quick way to convert an instance to a unique track.
Track grouping also affects MIDI export: all segments on a single row are exported as a single track in the resulting MIDI file.